The issue
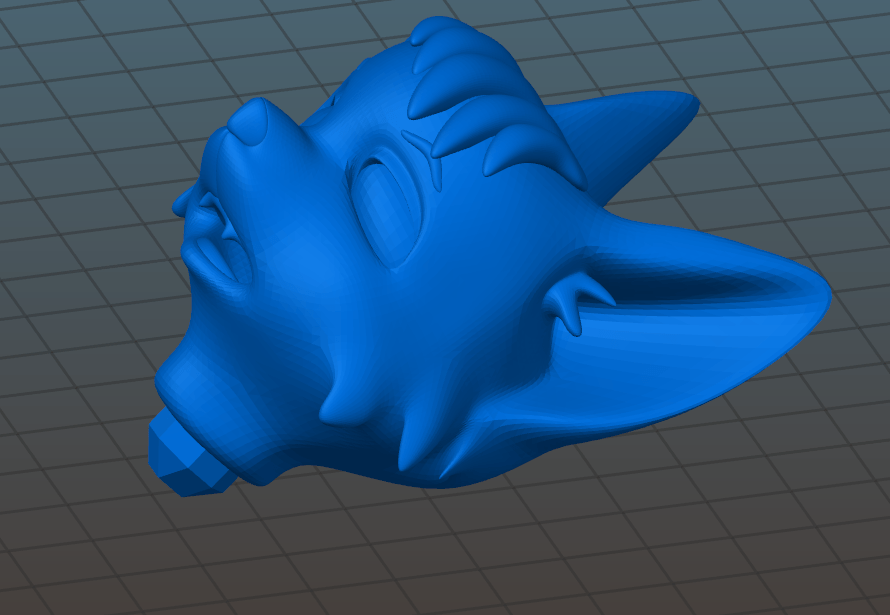
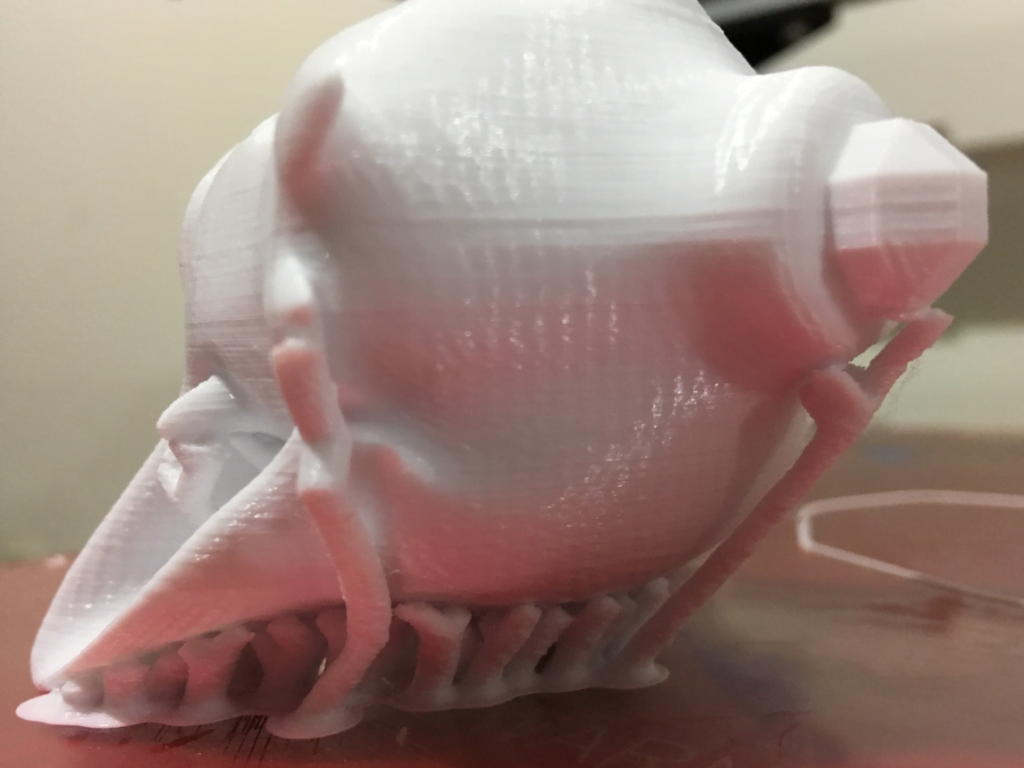
Sometimes it can be quite challenging to print a part. Take sweetie’s head, for example:
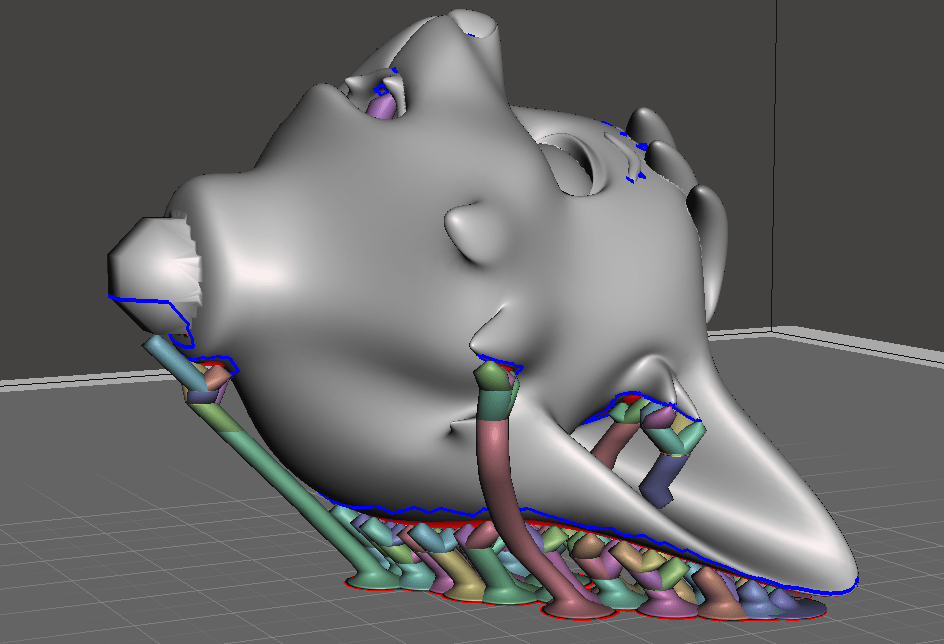
This is quite a difficult print. If you try to use Slic3r’s support, you end up with something like this:
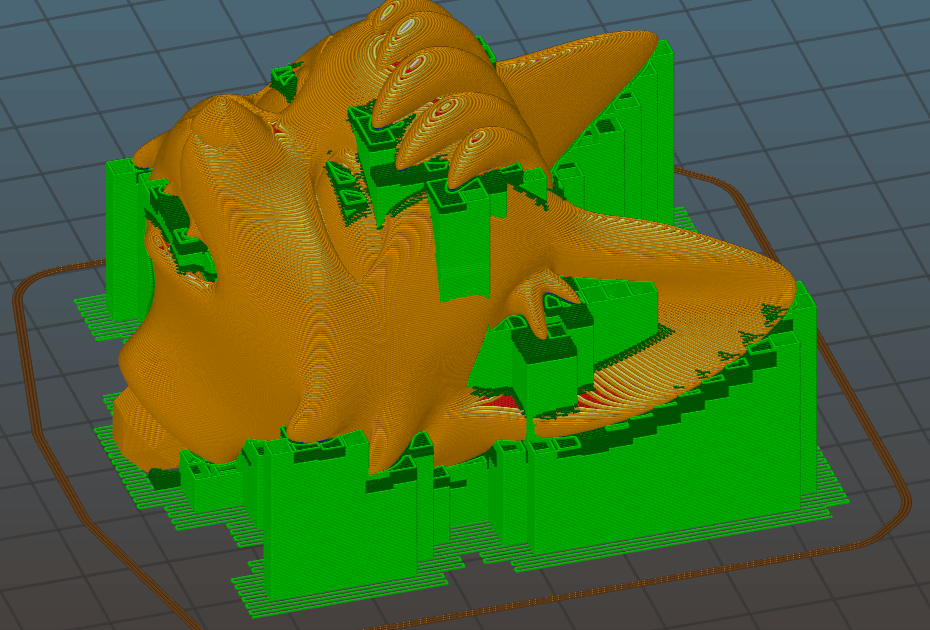
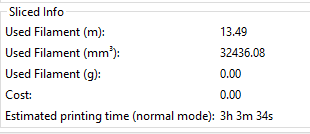
Here is how much filament you’d use:

The Solution
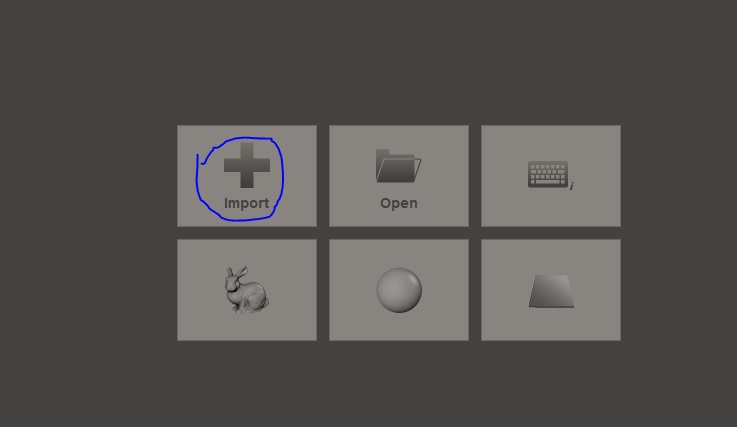
Fortunately, you can use custom supports on meshmixer to help you out. Not only it will give a cleaner print, customizable supports, you will also save some filament. Let’s compare… First import the stl into meshmixer:
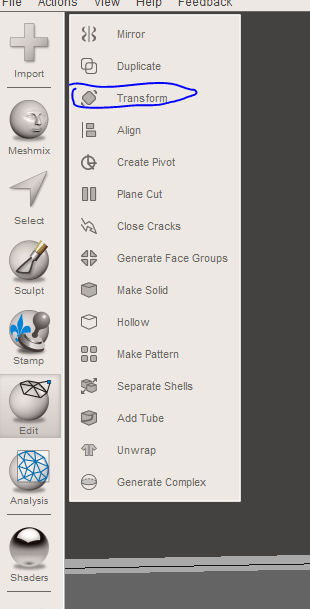
Then, let’s first transform the head to another position by using Edit -> Transform:
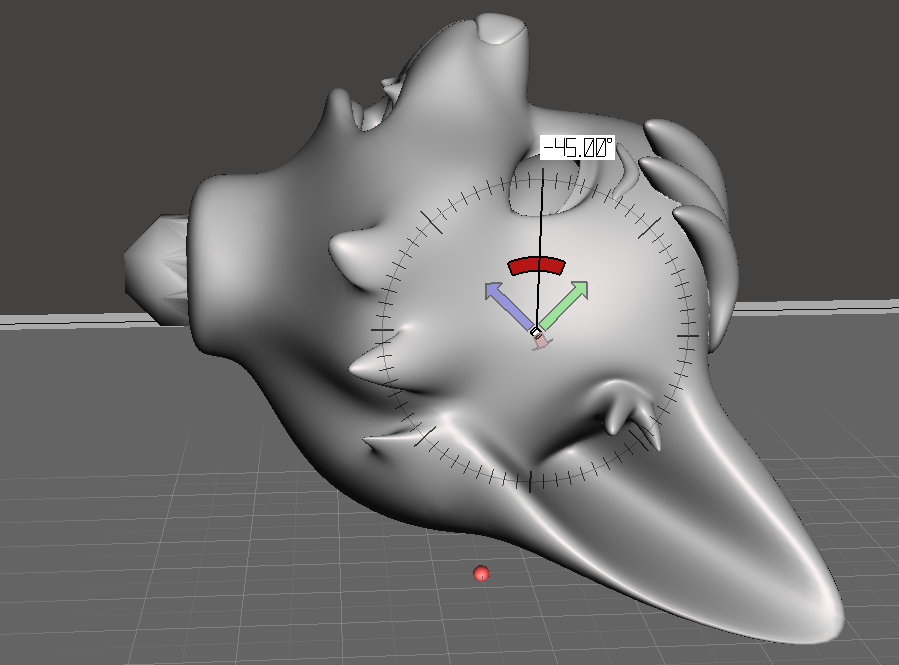
Next, accept the results. You might want to tinker with different rotations until you find the best one… I’ll just keep this one for now as an example, but I think it’s not the best for this particular model.
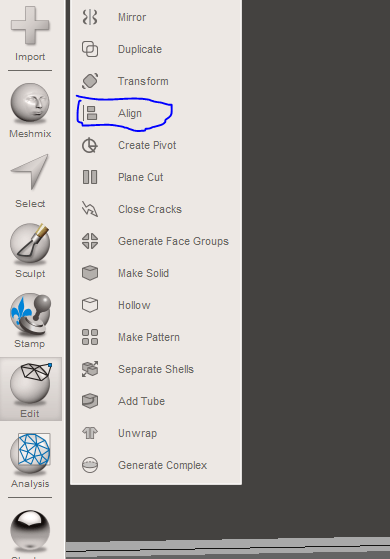
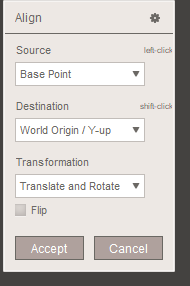
Then you want to align the object to the plate, to leave no gap
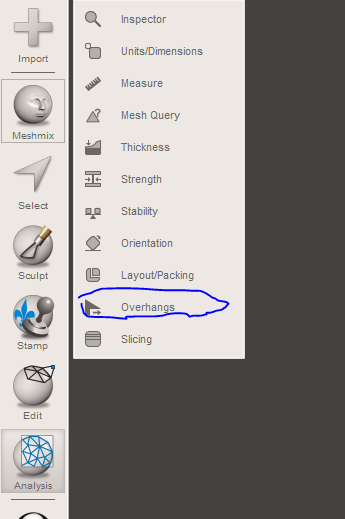
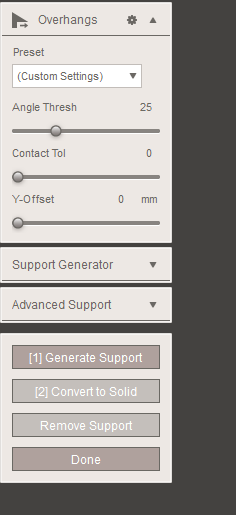
Next you will hit analysis -> overhangs
Some good starting values. Hit generate support
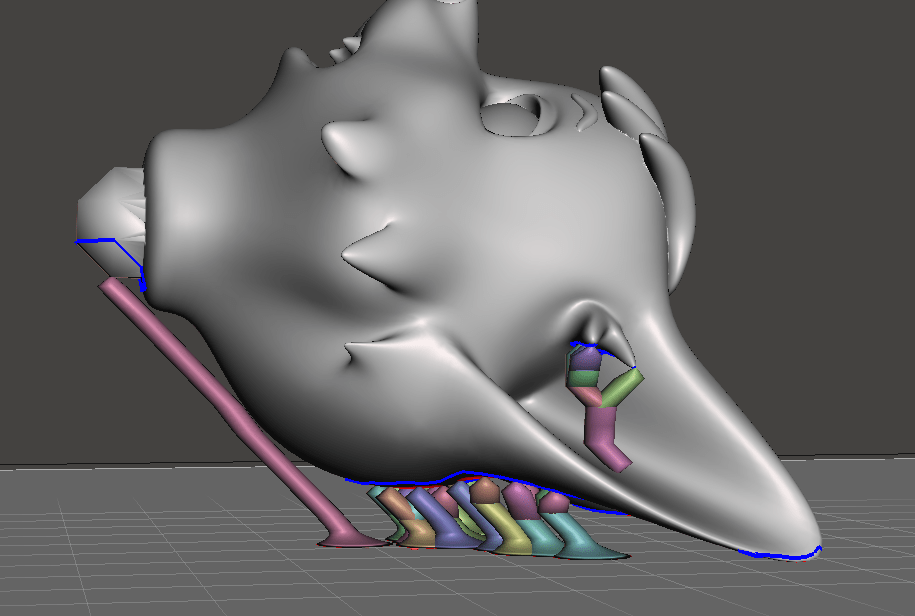
That looks a lot better
You can remove unnecessary supports by holding ctrl and clicking on them. To add more supports, click “remove support” and increase the angle threshold, and hit generate support again. You can also decrease the value of angle threshold to generate less supports. As an example see below angle threshold of 10, vs 25 from the picture above
Once finished, select the option “convert to solid”, and replace the object. Next, export the result as an stl. Here is what you get on Slic3r

Results when using custom supports on meshmixer
And that’s a 20+% savings in filament, and 25% savings in time to print!
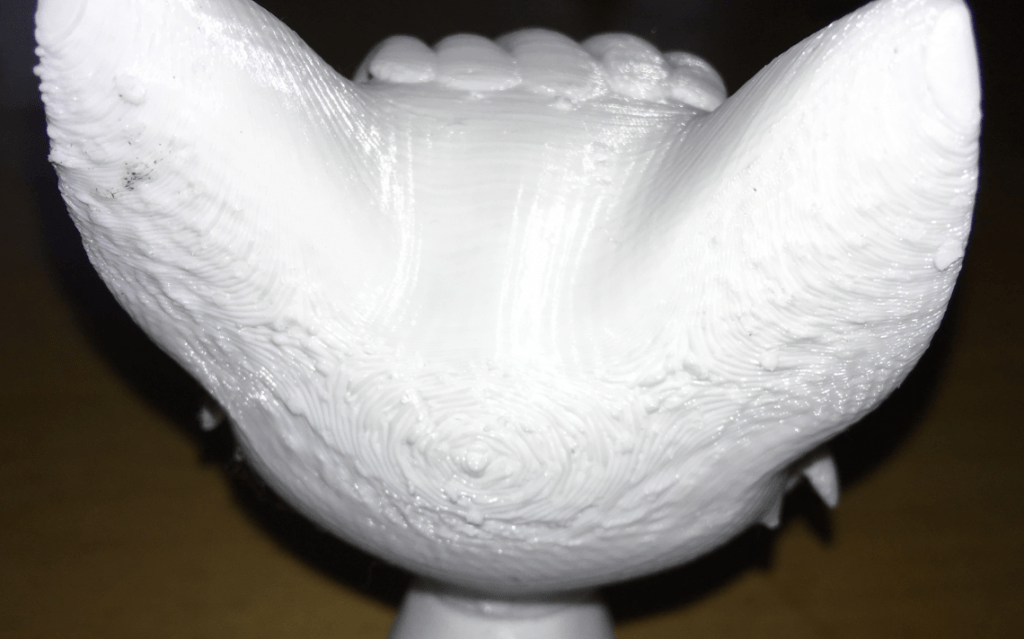
This is the final result, after a few hours of printing:
It’s quite easy to clean, but the finish leaves some room for improvement:
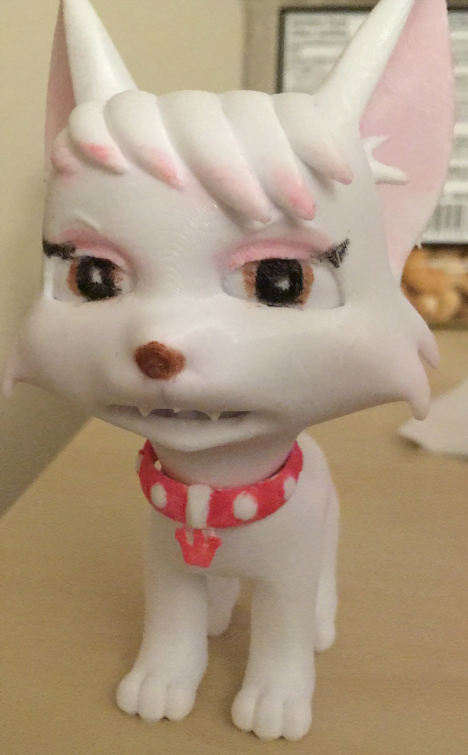
The final product, with some colorful touches 🙂
Hope you enjoyed this guide! 🙂